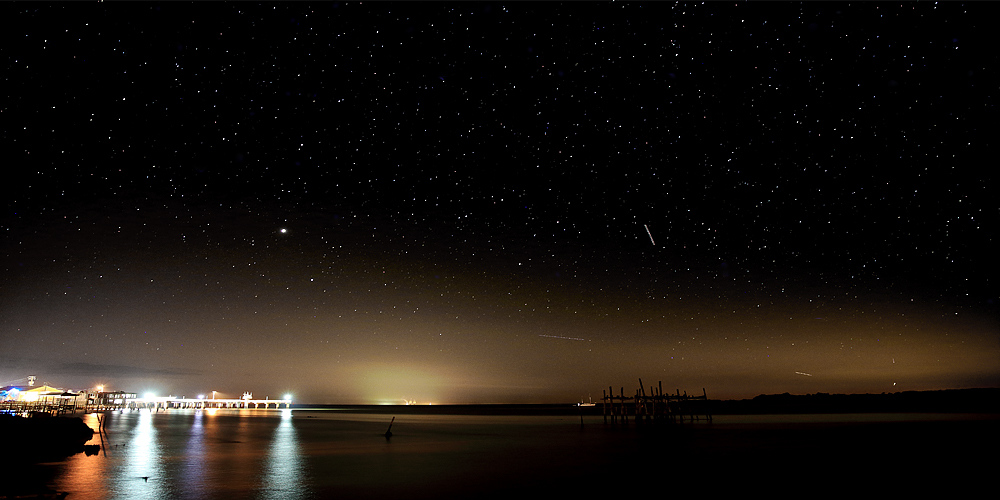
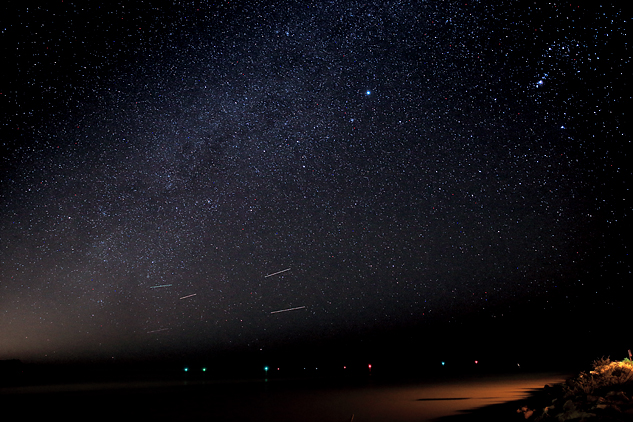
 For me, long-exposure night sky photography is yet another great excuse to go on a road trip as far away from the city lights as I can get—the less ambient light, the better for capturing a brilliant crisp sky full of stars. To help me find good shooting locations, I use Dark Site Finder’s Light Pollution Map. Land-based light, from cars, street lamps, and buildings finds its way into the atmosphere and reflects off of water vapor and dust in the air. It washes out the deep black of the sky and masks contrast with the stars. That’s why you can’t see the Milky Way from the city. However, I generally want some kind of land-based object in the distance to give the image more interest (as in these two photos) but in doing so I know I’m compromising the vividness of the sky, so I try to keep it at a minimum. Recently I road-tripped to Cedar Key, Florida where the Milky Way (below) was clearly visible.
A few tips: Shoot on a clear moonless night. Use a sturdy tripod and a remote shutter release. Find a good viewpoint facing south, since the Milky Way arcs up from the southern horizon. If you want to freeze the stars then try to keep your exposure to 25 seconds or less—longer than that and the rotation of the earth will begin to cause your stars to streak. (If you’re looking for that streaking-star-trail-effect then shoot much longer exposures.) Night sky shots really need to be over-exposed to pull out the fainter stars that make up much of the sweeping-paint-brush swath that is the Milky Way, so the settings I’ve been using vary depending on the amount of ambient light, but fall into these ranges: ISO 1600 – 2500, aperture 2.8 – 5.6, shutter speed usually 20 seconds.
Bruce Hunt
